Building Spring Boot Vaadin applications with Gradle
Alright, so you have been bitten by the Spring Boot bug and want to write your Vaadin applications using Spring Boot and Gradle. How would you get started?
1. Create a Gradle Spring Boot project
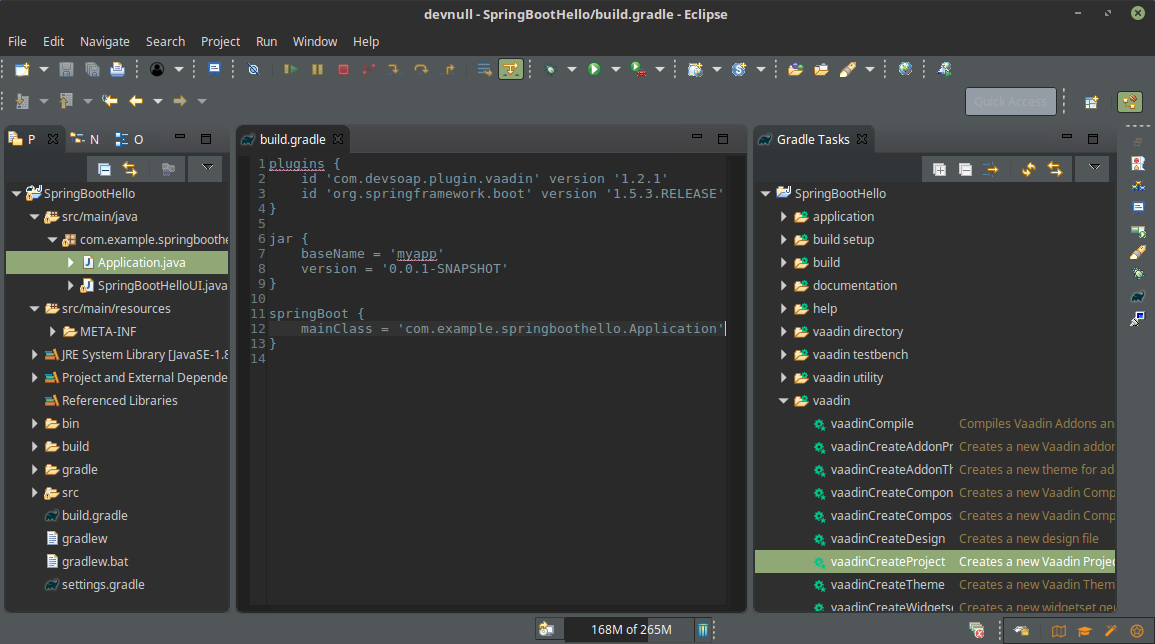
First off create a standard Gradle project with a build.gradle file and nothing else and add the following to build.gradle:
// build.gradle
plugins {
	id 'com.devsoap.plugin.vaadin' version '1.2.1'
        id 'org.springframework.boot' version '1.5.3.RELEASE'
}

jar {
    baseName = 'myapp'
    version = '0.0.1-SNAPSHOT'
}

springBoot {
  // Main class of @SpringBootApplication
  mainClass = 'com.example.test.Application'
}
2. Initialize project
Now, to create the project run the vaadinCreateProject task.
If you are using an IDE you will need to refresh the project by right clicking on the project and selecting Gradle -> Refresh Gradle Project
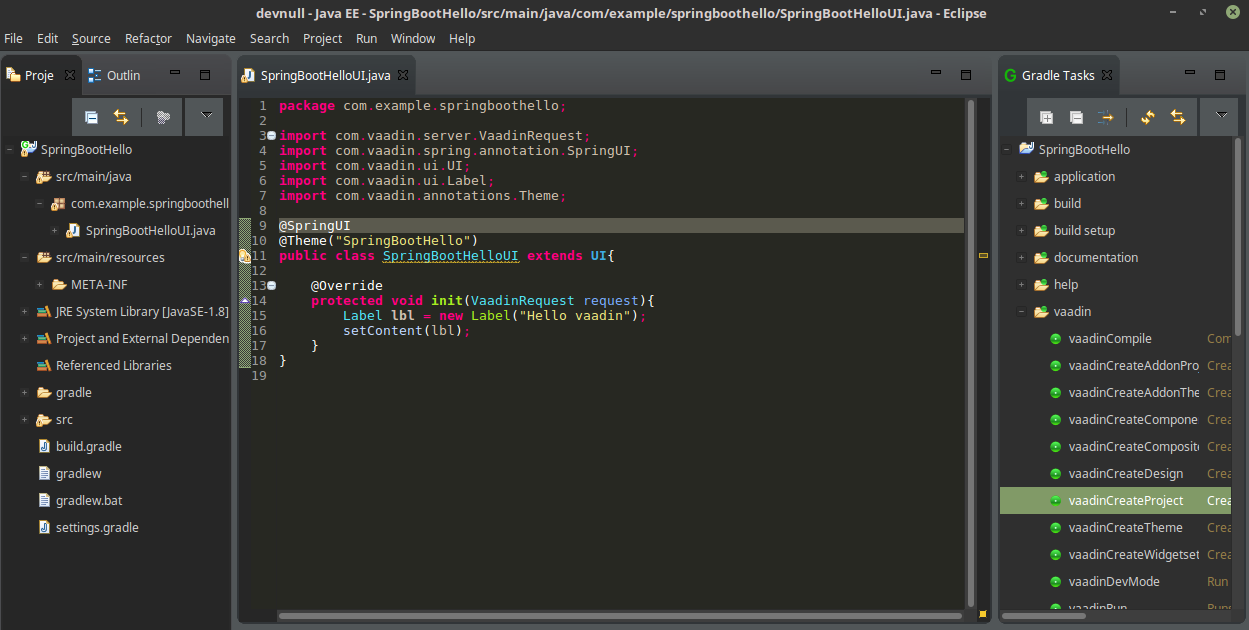
Once you have created and refreshed the project open the UI class and annotate the class with the @SpringUI annotation.
Remove the Servlet class.
Once you have done those two things the project should look like this:
3. Add the application class
Next we need a simple Application class to run the application.
//Application.java
package com.example.sprintboottest;

import org.springframework.boot.SpringApplication;
import org.springframework.boot.autoconfigure.SpringBootApplication;

@SpringBootApplication
public class Application {

	public static void main(String[] args) {
		SpringApplication.run(Application.class);
	}
}
Add the application class to your project and ensure that the springBoot { mainClass = '...'} attribute in your build.gradle is pointing to this class.
4. Run the project
You are now ready to run the project by running the vaadinRun Gradle task.
The application will be running on http://localhost:8080